How to setup BookLore on a Synology NAS

This guide will, hopefully, get you to setup BookLore on a Synology NAS using container manager directly .
Configuring the needed files and directories
First you need to make sure you have a directory where you can save the docker compose file and data directory for the installation. This part is not critical but will make migrations or fixes better and allow you to have more control over where is your data and books.
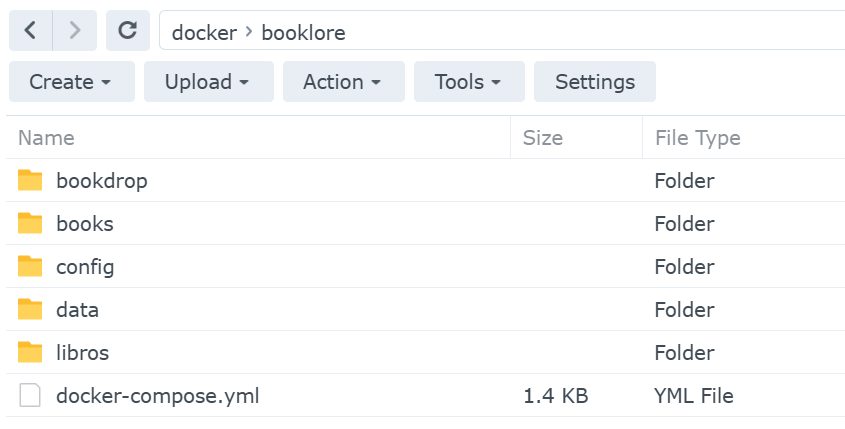
My example and deployment is in this directory /volume1/docker/booklore and I created it using File Station

Under this directory we will create a couple of additional folders that will be useful later for the configuration. You need to create 5 directories with the following names:
- config
- mariadb
- data
- books
- bookdrop
The nested directory should be created under the config one. You will essentially have something like this. (ignore the directory in spanish for now)
Then, to create that docker-compose.yml file, open Text Editor and create a file with that name and save it in here. Now we can configure it.
Here is the template I used with the removed values I specifically have in my instance for privacy and security reasons.
The template is based on the booklore official template found here.
(https://booklore-app.github.io/booklore-docs/docs/installation)
The network part of the containers here is specific to my instance but could be useful for someone.
services:
  booklore:
    image: booklore/booklore:latest
    # Or use the GitHub Container Registry image:
    # image: ghcr.io/booklore-app/booklore:latest
    container_name: booklore
    environment:
      - PUID=1026
      - PGID=100
      - TZ=UTC # Replace with your timezone
      - DATABASE_URL=jdbc:mariadb://mariadb-books:3306/booklore
      - DATABASE_USERNAME=booklore
      - DATABASE_PASSWORD= # Replace with your database password
      - BOOKLORE_PORT=6060
    depends_on:
      mariadb-books:
        condition: service_healthy
    ports:
      - "6060:6060"
    volumes:
      - ./data:/app/data
      - ./books:/books
      - ./libros:/libros
      - ./bookdrop:/bookdrop
    restart: unless-stopped
    networks:
      - npm_zbridge

  mariadb-books:
    image: lscr.io/linuxserver/mariadb:11.4.5
    container_name: mariadb-books
    environment:
      - PUID=1026
      - PGID=100
      - TZ=UTC # Replace with you timezone code
      - MYSQL_ROOT_PASSWORD= # Replace with a different password for the root user
      - MYSQL_DATABASE=booklore
      - MYSQL_USER=booklore
      - MYSQL_PASSWORD= # Same value here that you used in DATABASE_PASSWORD above
    volumes:
      - ./config:/config
    restart: unless-stopped
    healthcheck:
      test: ["CMD", "mariadb-admin", "ping", "-h", "localhost"]
      interval: 5s
      timeout: 5s
      retries: 10

    networks:
      - npm_zbridge

networks:
  npm_zbridge:
    name: npm_zbridge
    external: true
Note
In the official installation documentation it mentions to use an .env file. Since that is kind of tricky to achieve sometimes in the Synology, I decided against it for my deployment bu you are welcomed to use that approach.
Now, Booklore has allowed the option to give the container the permissions of the user running container manager, in this case I have used that to fix the possible permissions problems with the previously created folders in the Synology.
To obtain this value for the user, you will need to do some temporary terminal based access to your Synology. If you know how to do it, you can scroll to this point to continue the deployment, if you don’t keep reading.
SSH Access to your Synology NAS
I am assuming the NAS is in the same network and this steps work from any operating system with SSH enabled on the terminal of your choice.
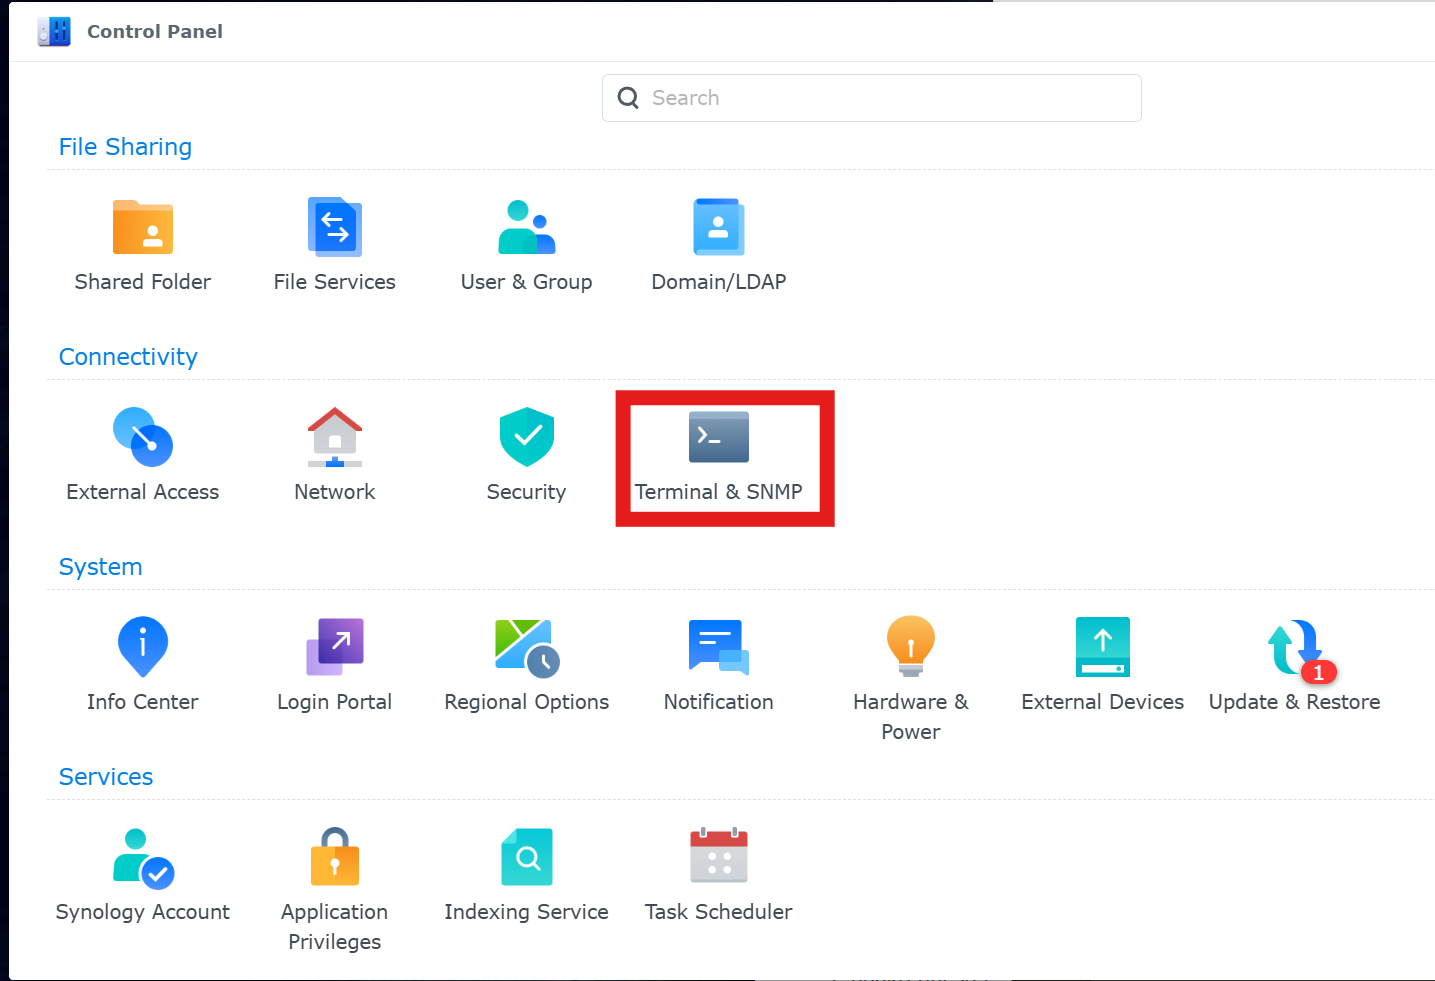
Go to Control Panel and look for Terminal & SNMP
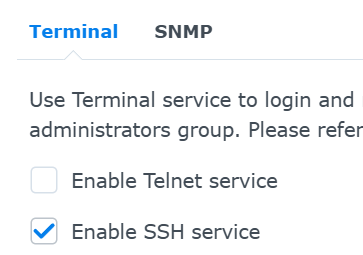
This will open a Terminal configuration where you need to Enable SSH service which will use the default 22 port.
After this you can go to your terminal and access your system using
ssh <username>@<your ip>
It will prompt you for your password and once inside you just need to run this line
id
and it will return something like this, which is what we need for the values of your docker-compose file.
uid=1026(username) gid=100(users) groups=100(users),101(administrators)
After you copy this values, you can disable the SSH service again in your Synology (This is a common security practice even if you only have local access to it)
Deploying your instance
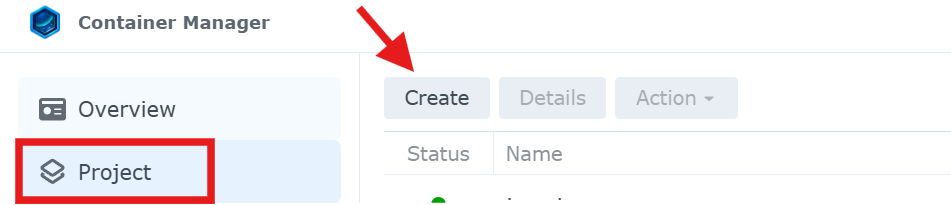
Now, find Container Manager and click on Project and then Create
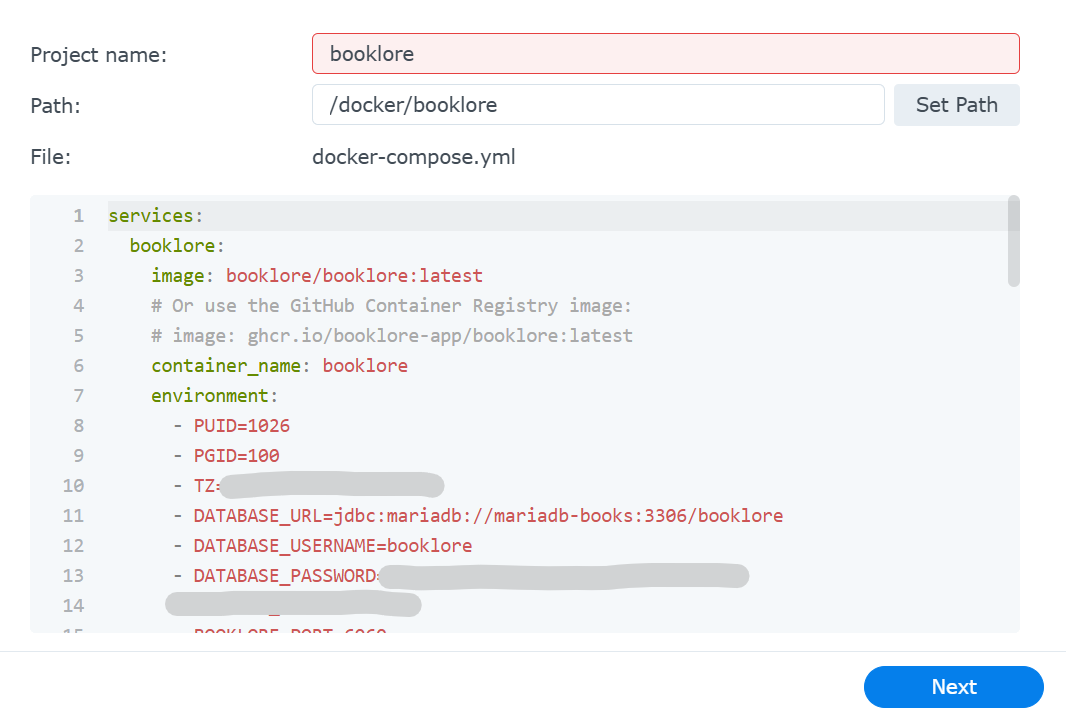
Give your project a name (booklore in our case) and then Set Path to find the directory we created earlier that has your docker-compose.yml file. When selecting the directory, it will ask you this
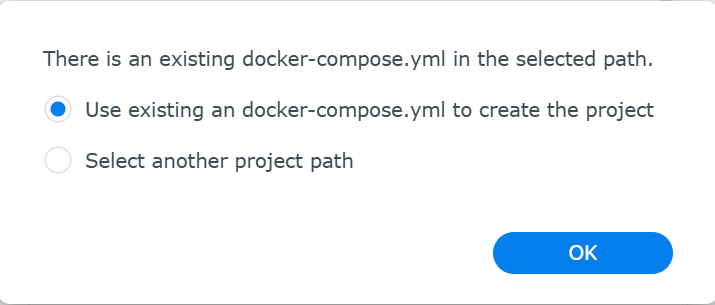
You just click OK and it will read the configuration we made for the project. Your settings should look something like this.
After this you can just click your way through since we can assume you already have a Reverse Proxy or something in place instead of the Synology one. We do not want to enable anything else apart from this and we just click create at the end. This will essentially do a
docker compose pull && docker compose up -d
on your directory. Meaning it will first try to pull the image defined and then create the compose deployment from your file. once it finishes, you will be able to go to your instance at http://192.168.x.x:6060 and start using your BookLore instance.
And that's it, hopefully you found this instance useful.